

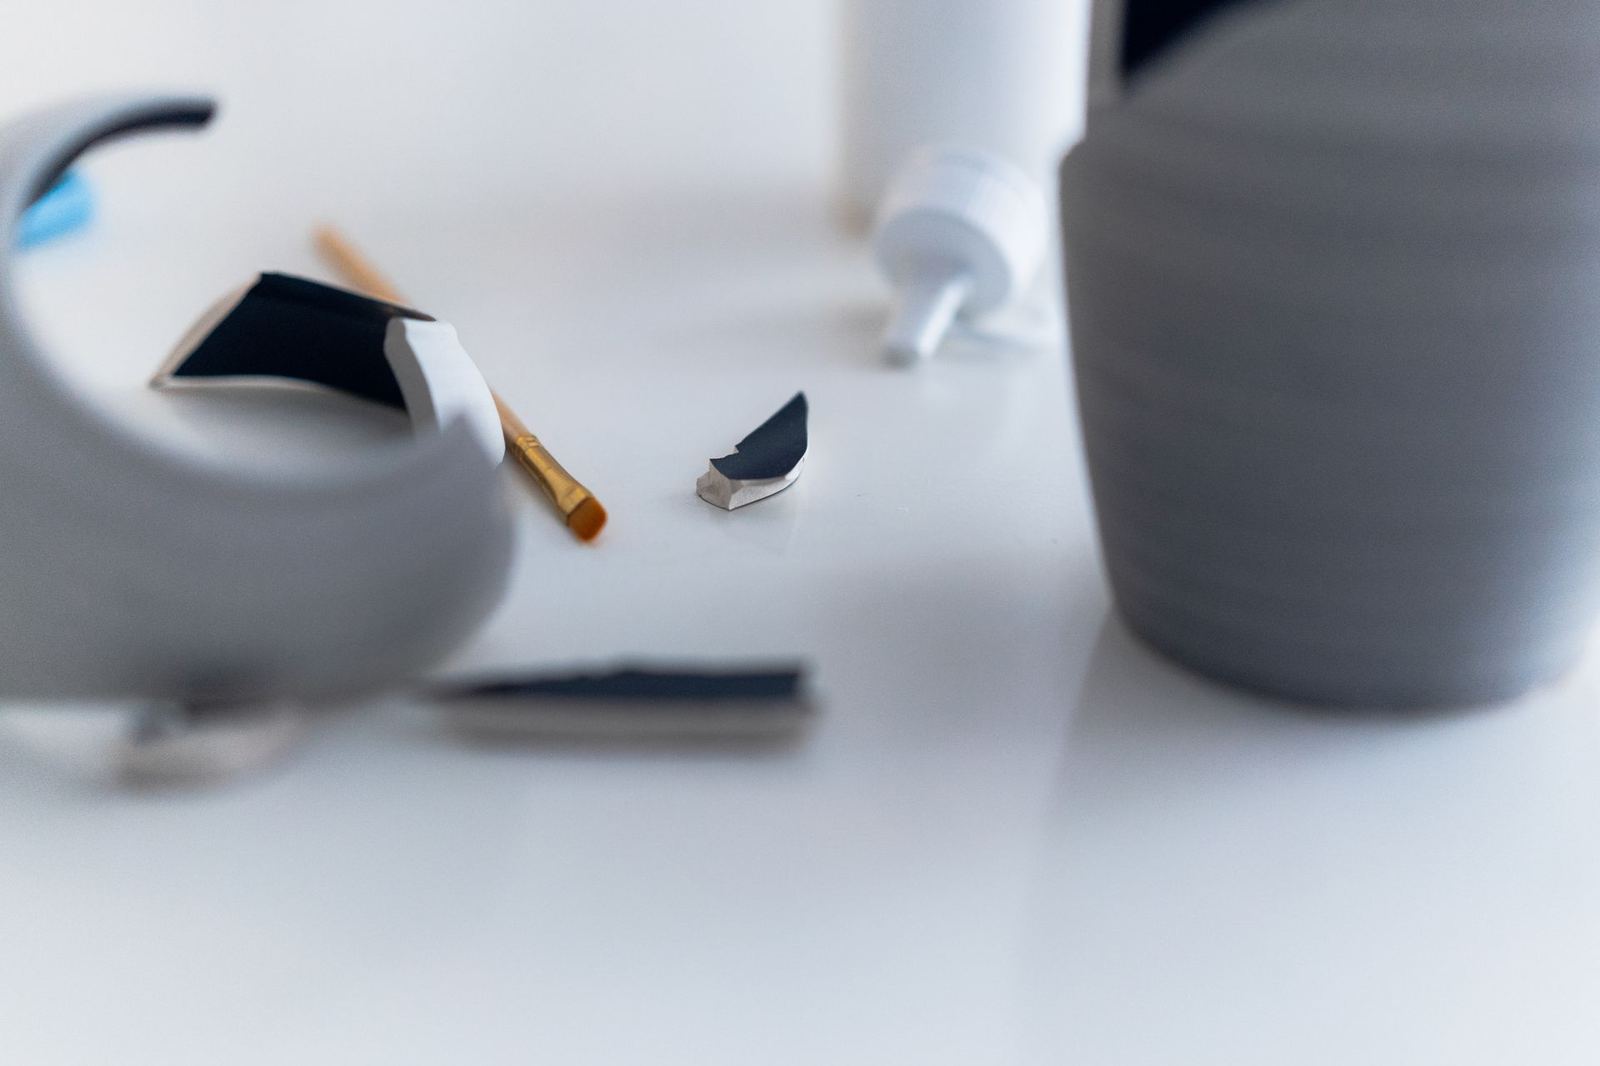
A broken plate's journey from documentation to the final retouch, and the principle of reversibility in restoration.
The museum's conservation laboratory is a place visitors cannot see but which determines the collection's lifespan. In this article we describe step by step the restoration process of the 16th-century Iznik-style tulip-motif plate whose crack was repaired in 2022.
1. Documentation
Before every intervention the object is documented with high-resolution photographs and UV light. Earlier repairs are easy to spot because they reflect differently under UV. The crack in the plate was found to be about 14 centimetres long and running toward the rim.
2. Cleaning and analysis
Surface dirt and old adhesive residues were carefully cleaned with soft brushes and neutral solvents. The moisture level of the ceramic body was measured; salt build-up around the crack was gently removed. Every stage was checked under a microscope so the glaze and pigment layers were not harmed.
3. Bonding and filling
The crack was joined with a reversible conservation adhesive. For a small lost piece of glaze, a special filler that can be removed later was used. The basic principle in museum work is 'reversibility': an intervention made today must be removable when a better method is found in the future.
4. Retouching
The colour of the filler was completed with watercolour to harmonise with the original glaze and paint, but no 'completion' imitating the original was made. The restoration can be seen on close inspection; from a distance the wholeness is not disturbed. This is the hallmark of ethical restoration.
5. Reporting and care
All procedures, materials used and before-and-after photographs are recorded in the object's file. The plate was placed in a case with constant humidity and temperature and is checked every six months.
Visiting the laboratory
Once a month we hold a 'Laboratory Day' showing conservation work on site to small groups. You can use our appointments page to register.
Ethical principles in restoration
- Minimum intervention: Only the treatment necessary to preserve the object is carried out.
- Reversibility: Every material used must be removable without harm.
- Distinguishability: The original and later additions must be distinguishable by experts.
- Documentation: Every step is recorded in writing and images.
How long does it take?
A small ceramic repair takes three to eight weeks including documentation and drying times. For large and complex pieces this can stretch to months. Throughout, the object is kept at controlled humidity and temperature; a rushed restoration increases the risk of damage again later.
A tip for ceramics at home
Do not join a broken ceramic with super glue, because that adhesive is irreversible and damages the pieces. Keep the fragments and consult a conservator. The museum holds a free 'collection care day' twice a year and advises on home collections.
Related Posts
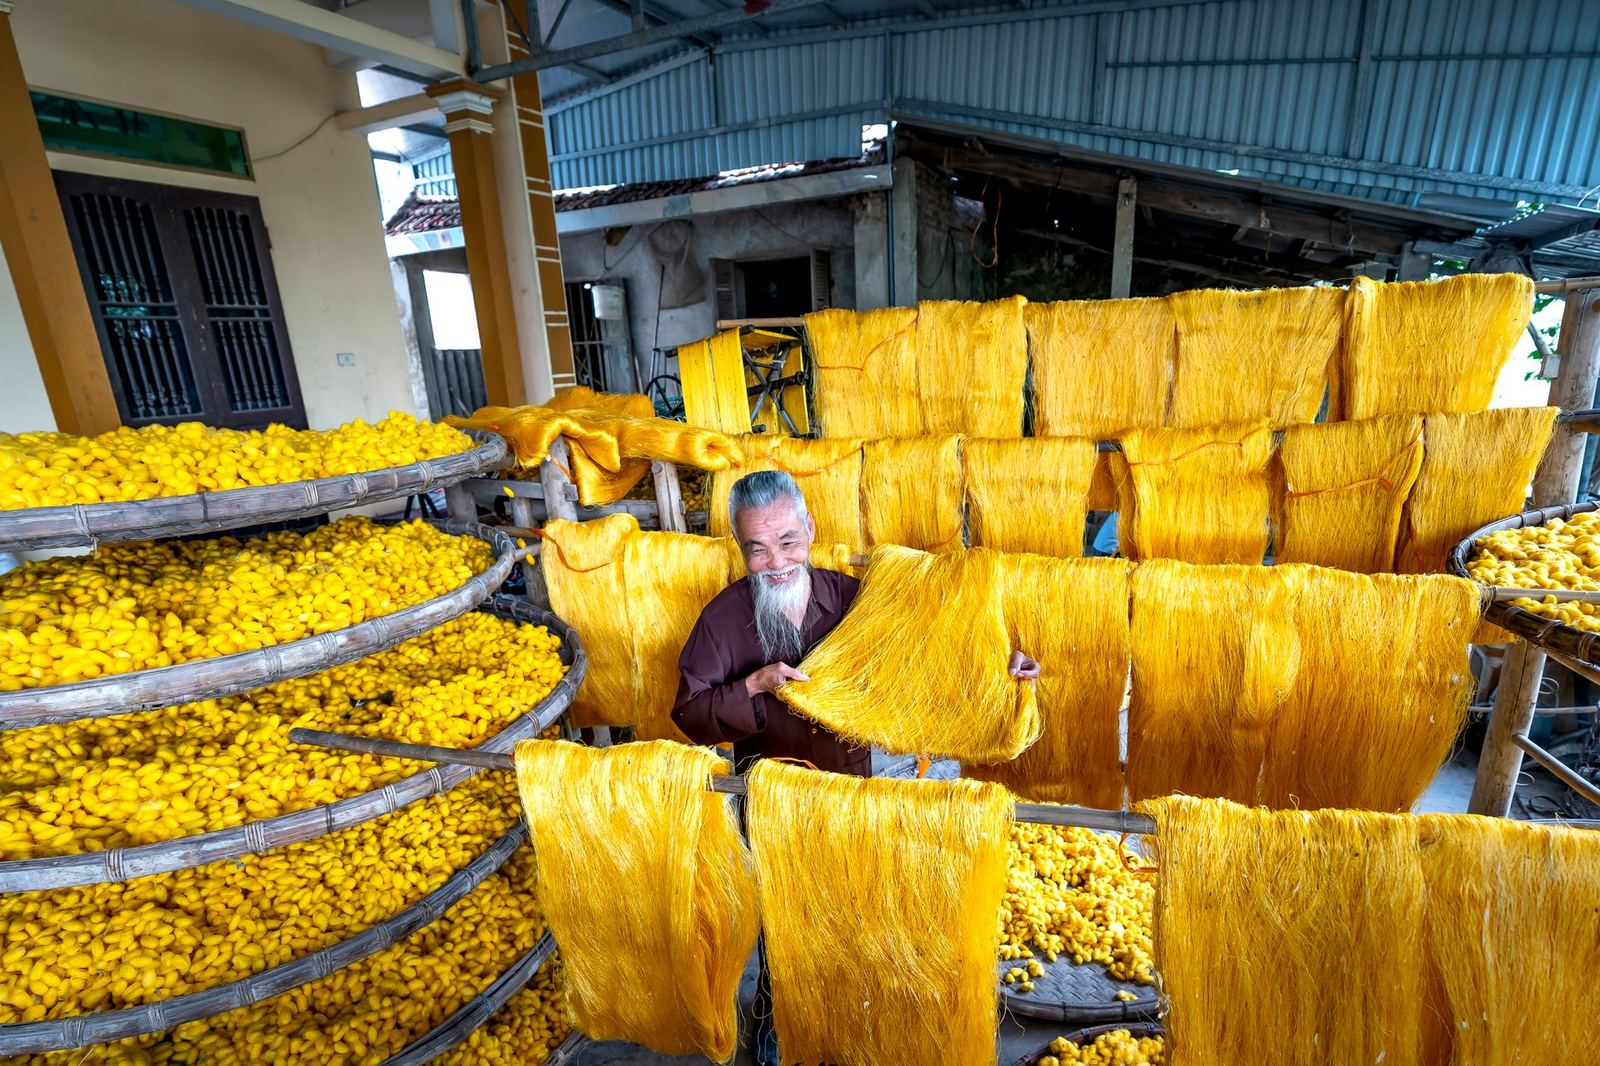
The Story of Bursa Silk: From Cocoon to Kaftan
The kemha fragment at the heart of Gallery 3 and the six-century story of Bursa's silk tradition.
Read More